Register Perceptor Desktop in Entra ID
Register Perceptor Desktop in Entra IDLog in to the Azure portal
Log in to the Azure Portal as a user who has permissions to register apps in your Entra ID.
https://portal.azure.com/
Register the Perceptor app in your Entra ID
Once you are logged in to the Azure Portal, select Entra ID. If you do not see this option on the welcome screen, use the search bar to find it. If you cannot find it, your user may not have the correct permissions.
If you have multiple tenants, make sure you are in the correct tenant by clicking on your username (top right) and select “Switch directory”.
Once you are in the correct tenant, and have selected Azure Active Directory, select the App registrations option from the left menu, and then click New registration. You should be presented with a page similar to this:
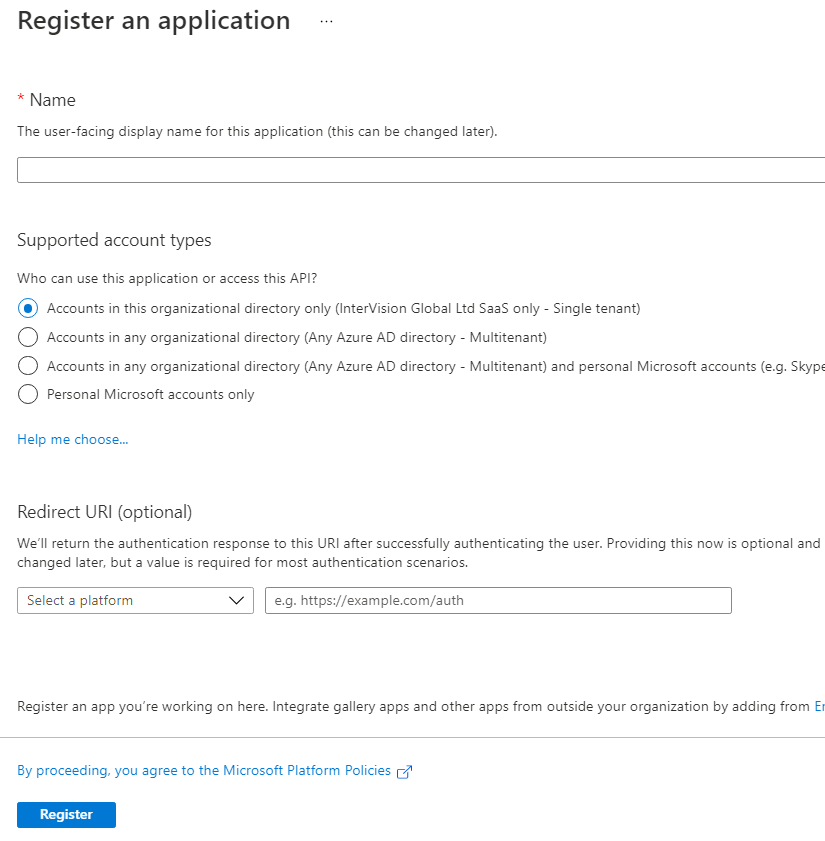
Enter a Name (for example “Perceptor_Desktop”).
For Supported account types leave this as the default “Accounts in this organizational directory only”.
Leave Redirect URI empty for now, we will come back to this later.
Click Register to register the app.
Define a custom scope
Now that the Perceptor app has been registered, you need to define a custom scope.
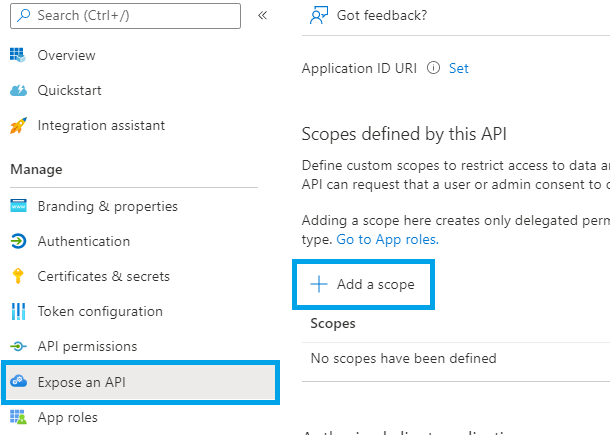
Click Expose an API in the left menu and then Add a scope:
You will be presented with an automatically generated Application ID URI, leave this as it is and click Save and continue.
On the next screen, enter “Perceptor_Desktop” for the Scope name, Admin consent display name and Admin consent description.
Leave “Who can consent” set to “Admins only”.
Leave State to “Enabled”.
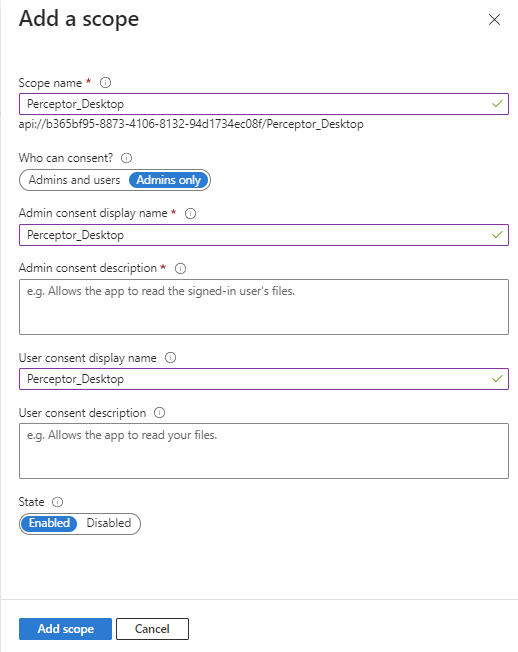
Click Add scope.
Configure API permissions
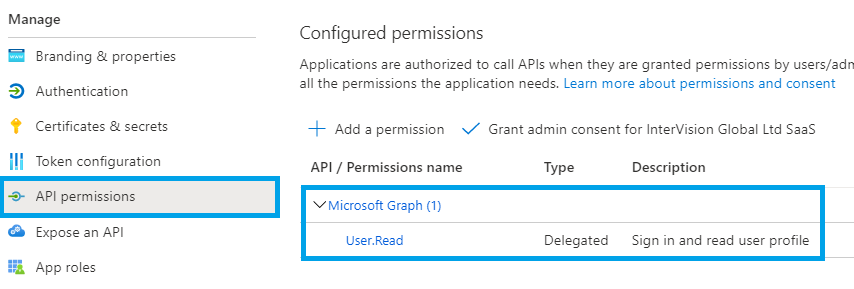
Next, click the API permissions item in the left menu. By default, you will already have one permission, User.Read:
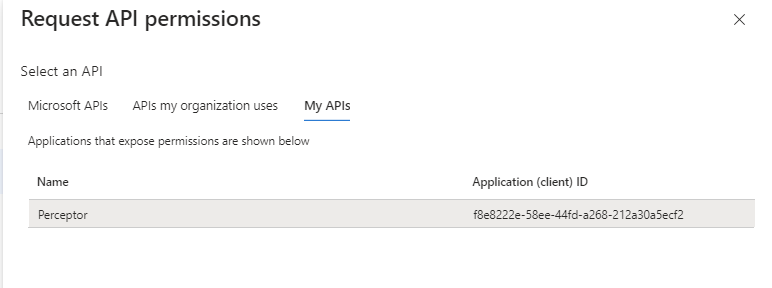
Click Add a permission and then click the My APIs tab. Select the item in the list which matches the name of your Perceptor app registration:
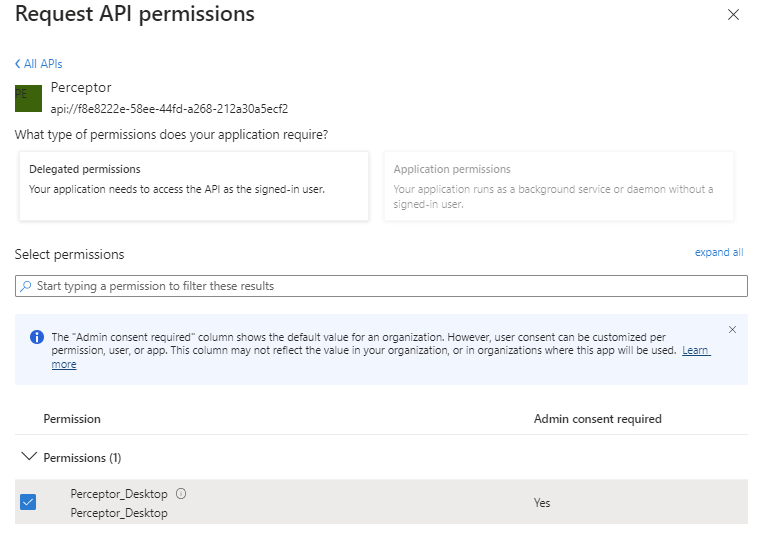
Tick the check box next to the Perceptor_Desktop permission at the bottom of the screen and then click Add permissions:
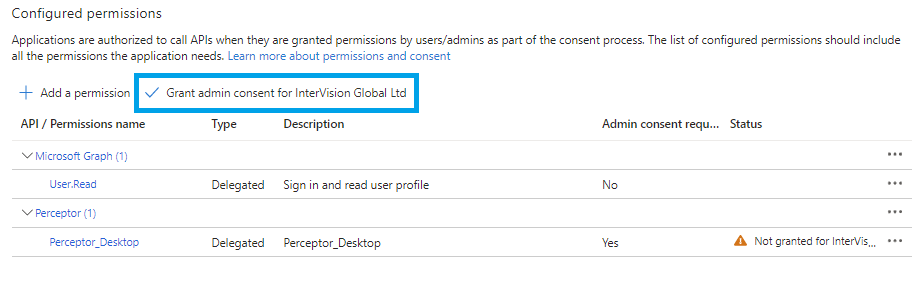
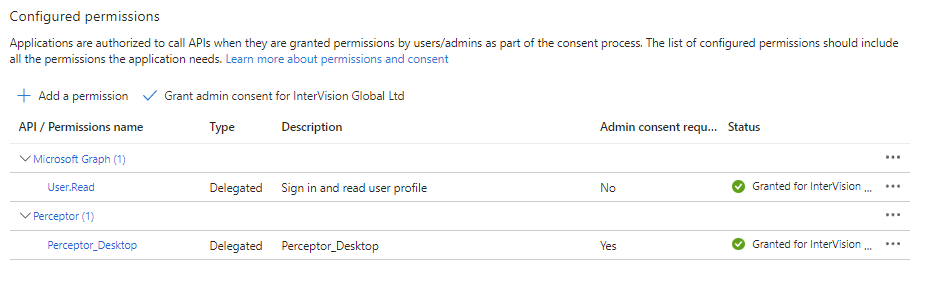
You should then see the new permission listed on the main API permissions screen.
Finally, click the button to Grant admin consent for your organisation:
You will then see that Admin permission has been granted:
Add groups claim to your token
In order for Perceptor to be able to identify your users’ Entra ID Group, we need to include their group ids in the access token they use to authenticate.
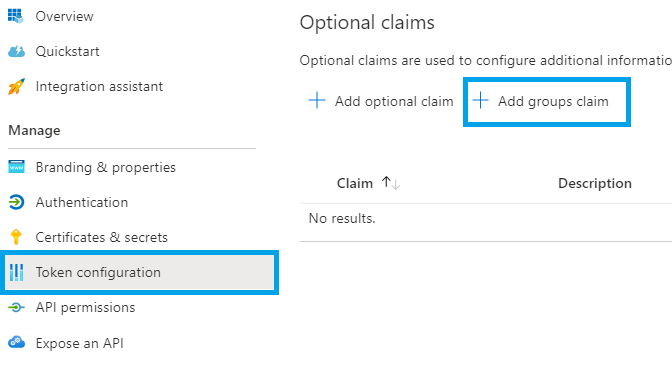
Go to Token configuration in the left menu and click Add groups claim:
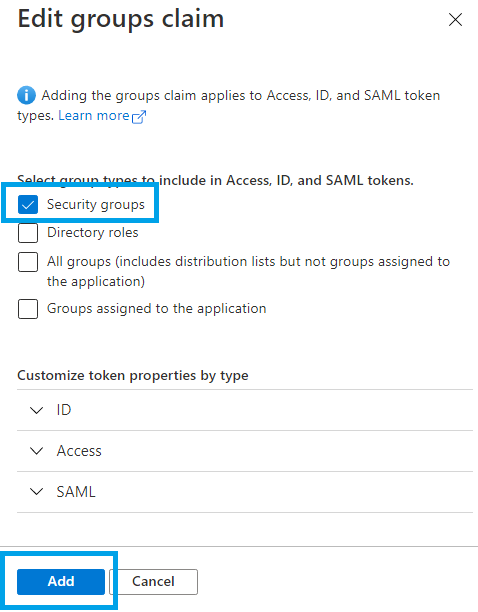
Tick Security groups and then click Add:
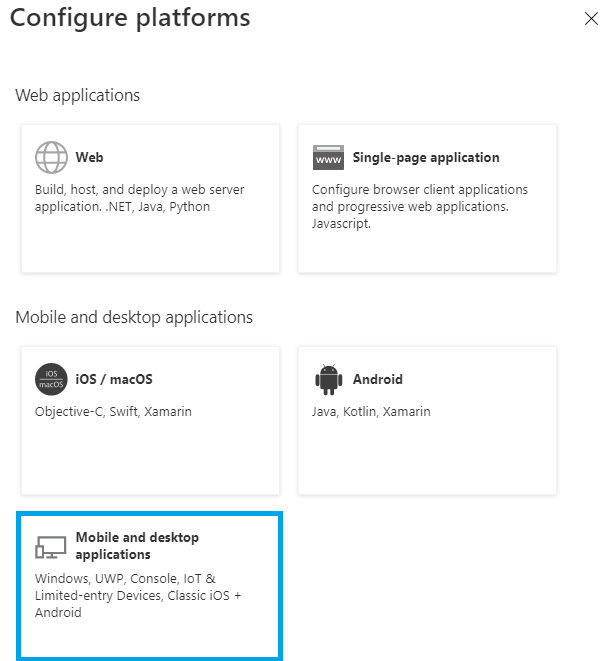
Configure platforms
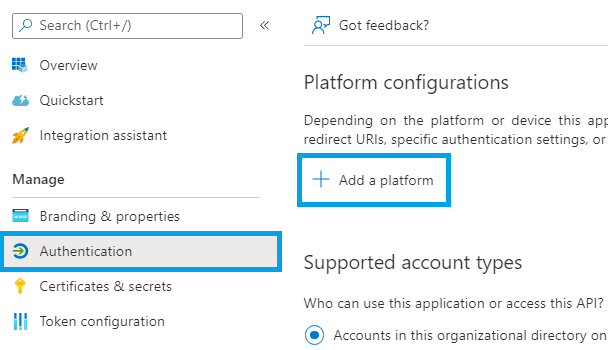
Now that the app has been registered with the correct scopes and permissions, the final step is to set up the platforms that can be used to log in.
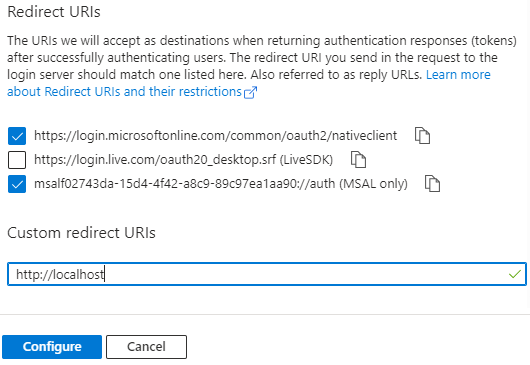
Click Authentication in the left menu and then click Add a platform:
Click Mobile and desktop applications:
Tick the microsoftonline and msal Redirect URIs, add "http://localhost" to Custom redirect URIs and then click Configure: