Set up Perceptor Data API on IIS
Set up Perceptor Data API on IISData Folders and Settings
Copy the Data API runtime files that have been provided to you from your Reseller and copy them to a folder on the same PC as the IIS installation. It is advised to copy the files into a folder under your "C:\" drive.
From this location open apssettings.json and enter the correct data for your domain, tenant id, client id and user id. A demo example is attached below:

The fields that will be populated are:
- PtxlDatabase: this is the connection string to your database (more info in database setup section)
- Domain: your company's domain
- TenantId: your Azure tenant ID
- ClientId: this is the ID of the Perceptor Desktop app registration
- PTXLUserId: this is the ID of the user's group registered in your Entra ID
Register the website in your IIS
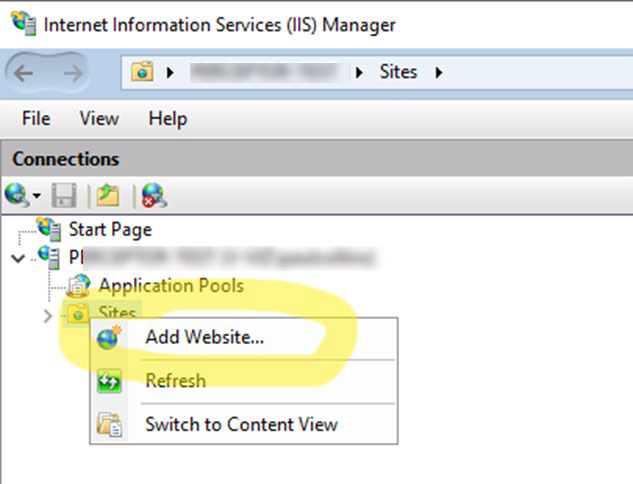
Open IIS.
Expand server.
Right click “Sites”.
Click “Add Website”.
Give a name such as -Data-Api.
Click the 3 dots next to the Physical Path and browse to the folder you copied the runtime files to:
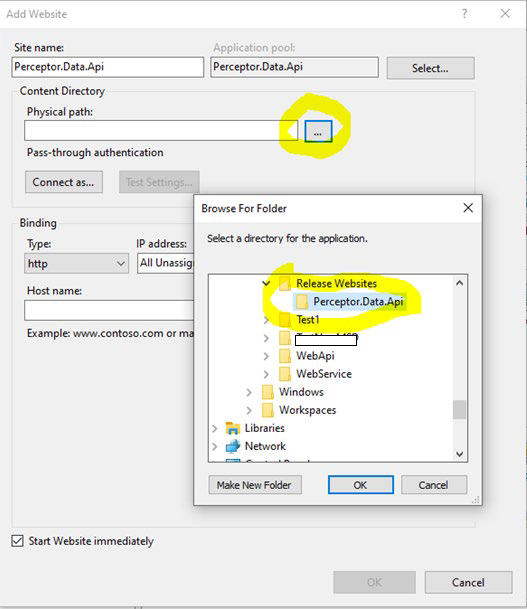
Press “OK”.
In the Port box enter an unused port.
Click OK.
Select Website, click Bindings…
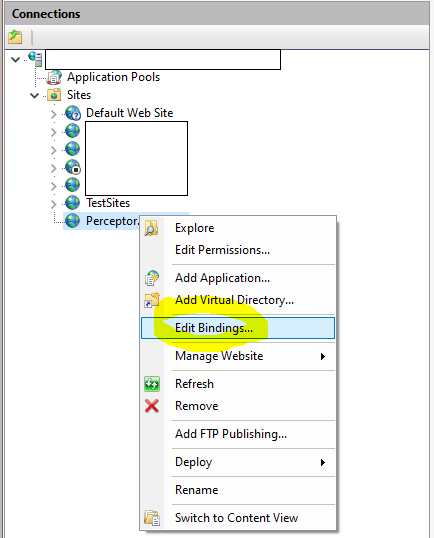
Click “Add…”
On the dropdown menu select the IP Address of server, add a new port number.
Make sure you select "https" as Type (the connection has to be secure over SSL).
Select your SSL certificate.
Click OK.

Make a note of the IP address and port number, you will need them later.
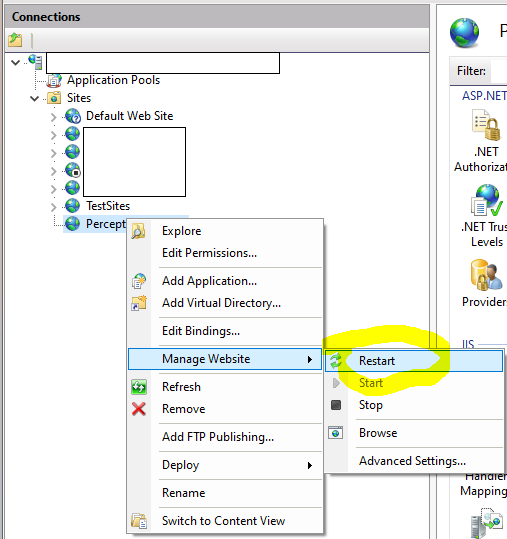
On the website click “Restart”.
Open Microsoft Edge and in the url enter “<IP Address of server>:<Port Number>/api/ping” to make sure that it returns successfully.