Lifetime: Register the Perceptor Management Console Website in your Entra ID
Lifetime: Register the Perceptor Management Console Website in your Entra IDRegister the Blazor Server app in your Entra ID
Log in to the Azure portal and select Entra ID. If you have multiple tenants, make sure you are in the correct tenant by clicking on your username (top right) and select “Switch directory”.
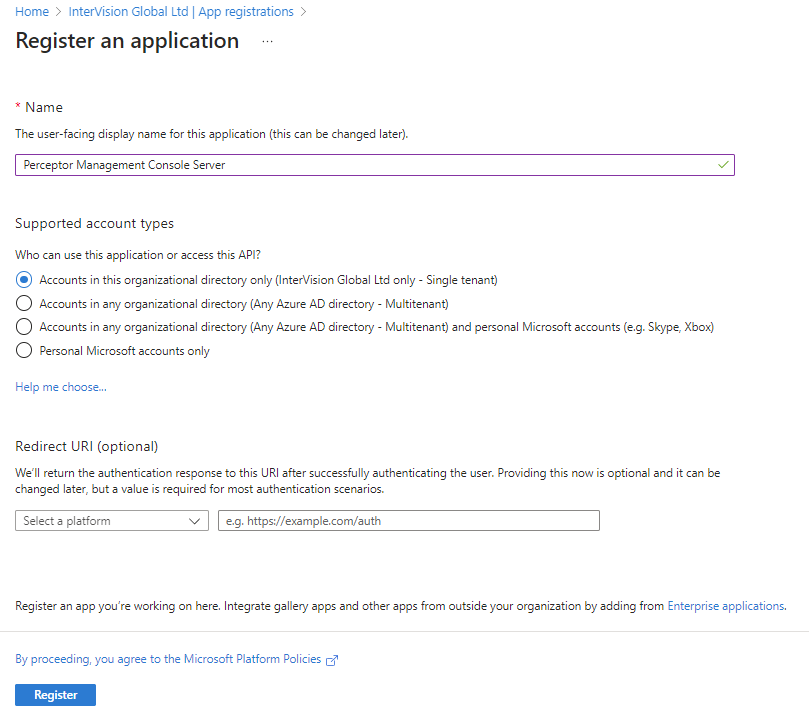
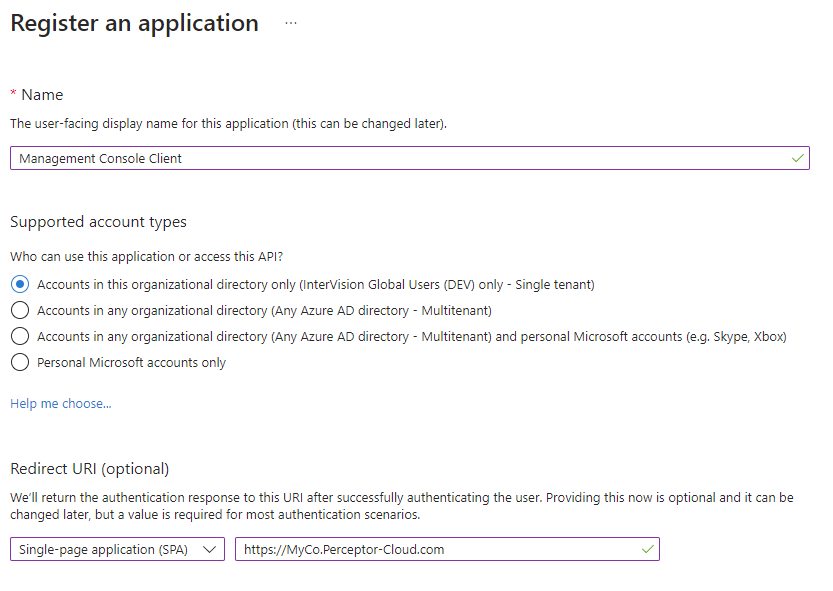
Once you are in the correct tenant, and have selected Entra ID, select the App registrations option from the left menu, and then click New registration. Enter an appropriate name and click register:
Add a secret
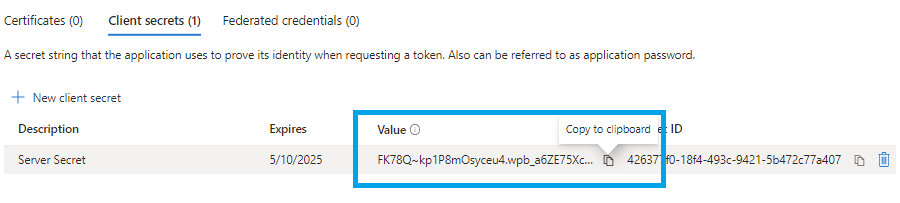
Go to Certificates & secrets, select + New client secret, enter a name, select an expiry and click Add:

Make a note of the secret now, as you will not be able to see this again:
Define a Custom Scope
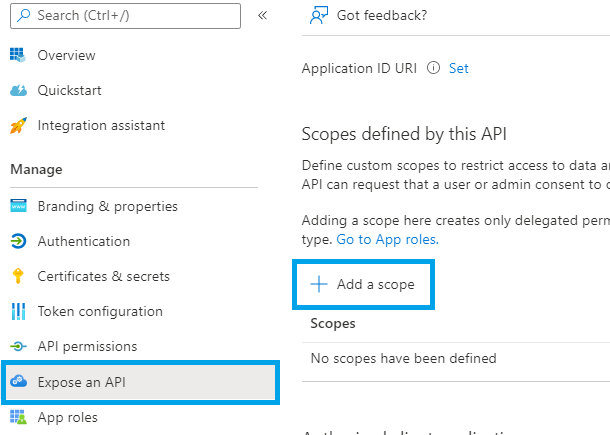
A custom scope is needed to allow the Blazor Client app to access the Blazor Server app. Click Expose an API in the left menu and then Add a scope:
You will be presented with an automatically generated Application ID URI, leave this as it is and click Save and continue.
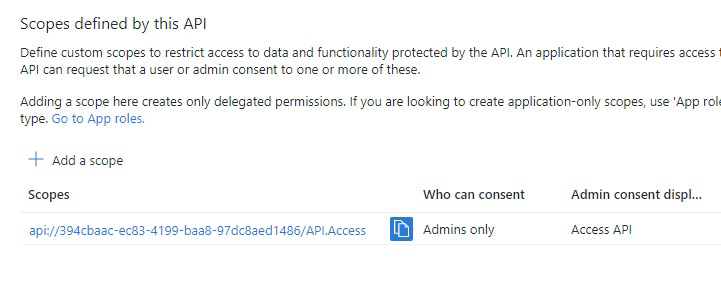
On the next screen, enter “API.Access” for the Scope name, Admin consent display name and Admin consent description.
Leave “Who can consent” set to “Admins only”.
Click Add scope.
Configure permissions
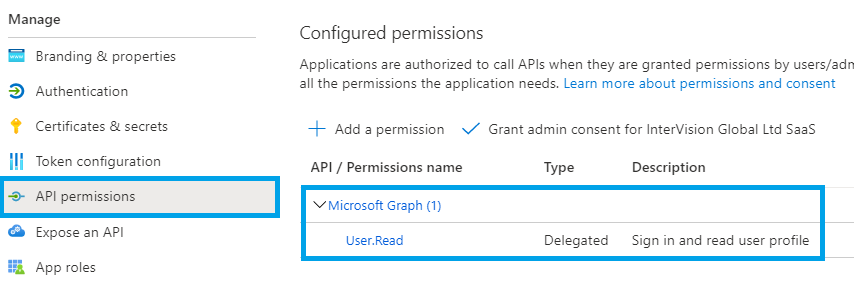
Next, click the API permissions item in the left menu. By default, you will already have one permission, User.Read:
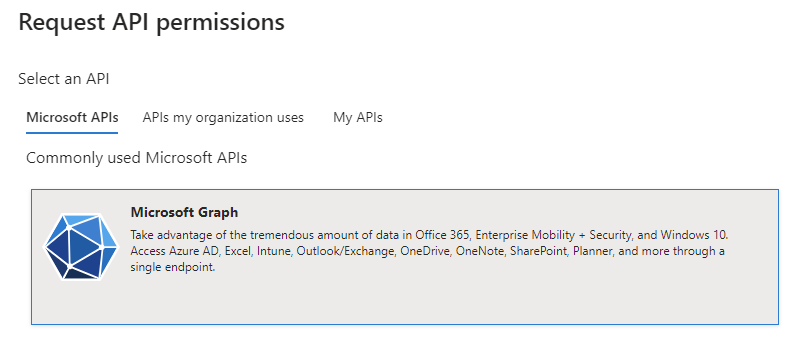
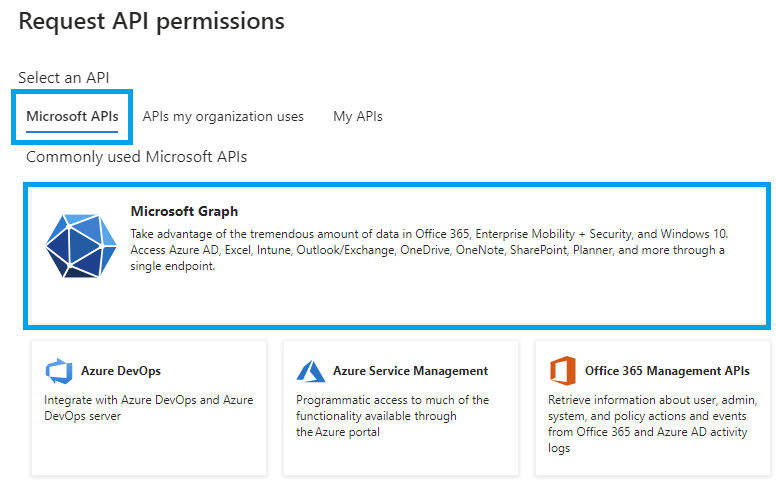
Click Add a permission and click Microsoft Graph:
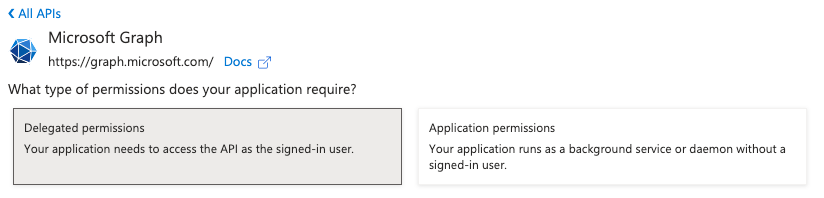
Click Application permissions, type Directory.Read.All into the search box, and then tick the Directory.Read.All permission:
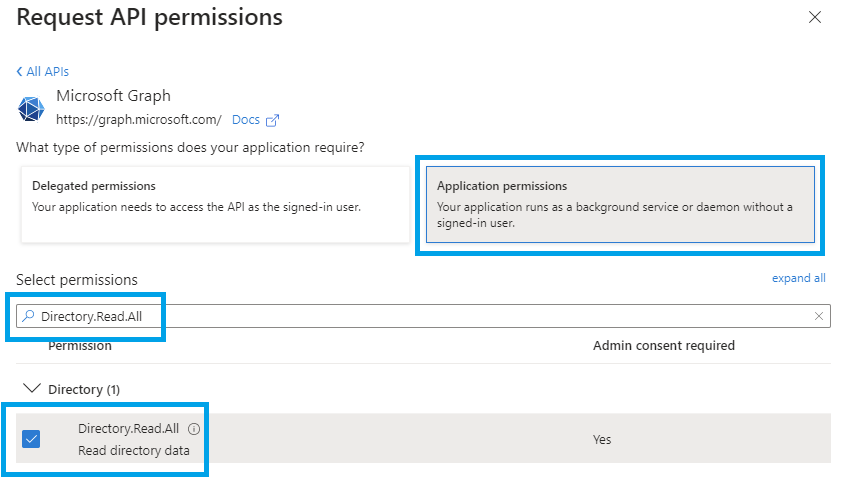
Click Add permission.
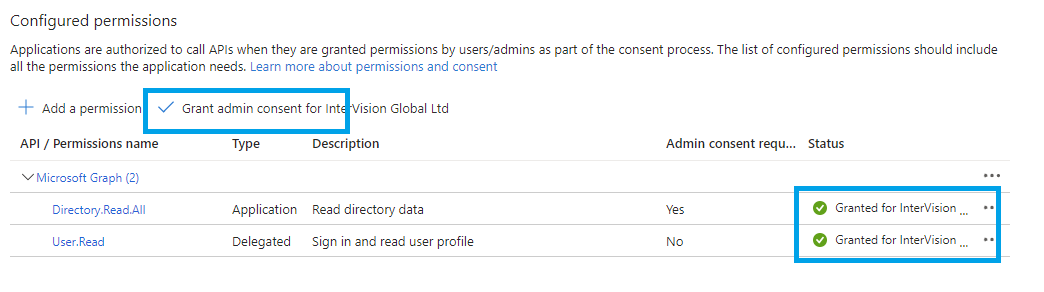
Back on the main screen, click the button to grant admin consent for the permissions.
Register the Blazor Client app in your AAD
Return to App Registrations and create a new app registration with the Single-page application platform, and enter a single redirect url of {site url}/authentication/login-callback, where {site url} is the url that is used to access the Management Console.
Configure tokens
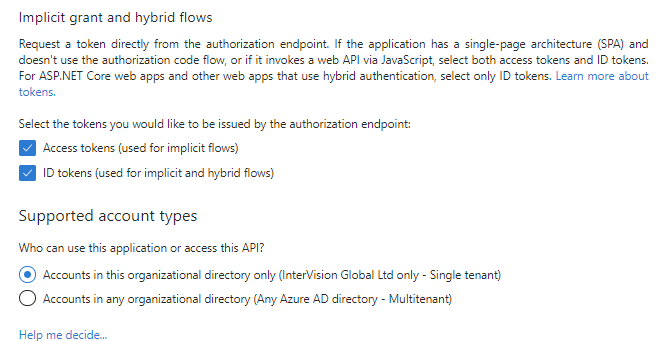
Once the app is registered, select Authentication, tick both Access tokens and ID tokens, and save.
Configure Claims
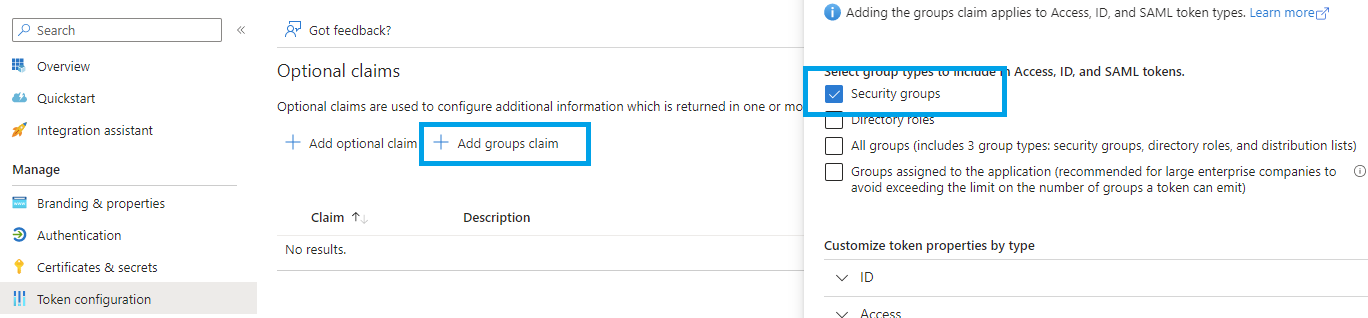
Click on Token Configuration, then Add groups claim, tick Security groups, and click Add:
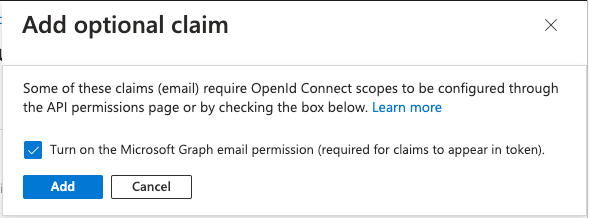
Then click Add optional claim, select ID, tick email, and click Add:

If this box appears tick Turn On and click Add.
Configure API Permissions
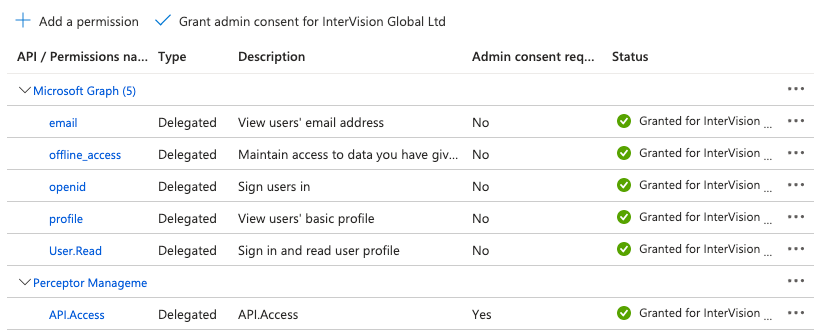
Click on API Permissions, Add a permission, select the My APIs tab, and select the Blazor Server app added in step 1. Click the app and you should see the API.Access scope added in step 3 above. Select this, and click Add permissions to grant the Management Console client app access to the server app.
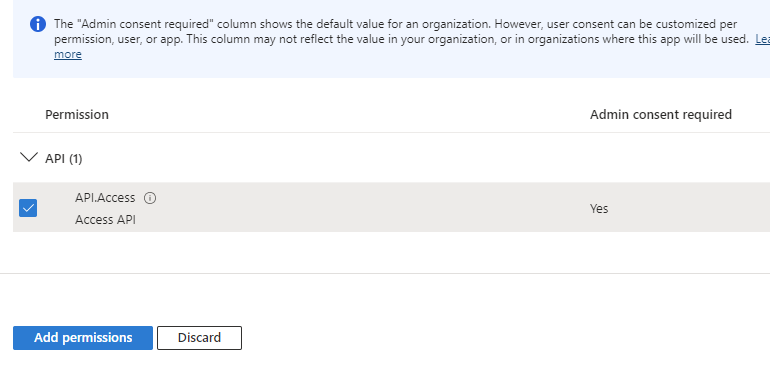
Click Add a permission again, but this time select Microsoft Graph:
Select Delegated Permissions.
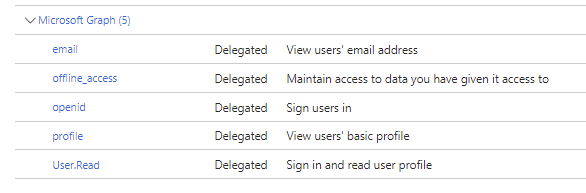
Add the following Delegated permissions, scrolling down to locate User.Read if required:

Finally, click the button to grant admin consent for all of these permissions.

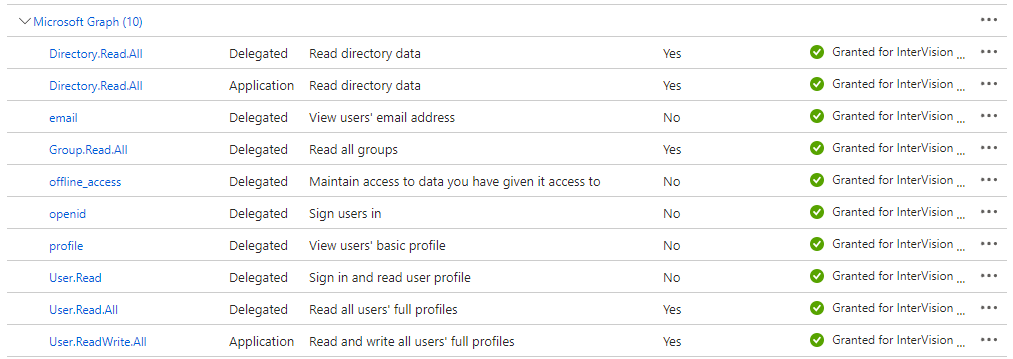
In some cases, additional permission have to be granted:
Configure Authentication
Once the app is registered, select Authentication. Make sure that you have the Single-page application configured, and the redirect URI is set as per your domain name/IP address.

In this case we have "https://localhost/authentication/login-callback" configured because our Management Console website is running on localhost. Here are 2 examples for an IP address a domain name that you could use:
- https://192.168.15.26/authentication/login-callback
- https://test-perceptor-console/authentication/login-callback