ODV-2D camera settings with Perceptor IoT
Settings for installations of Perceptor IoT on TSC Printronix printers and the ODV-2D cameraIntroduction
This guide is applicable only when running Perceptor IoT with a TSC Printronix printer and their proprietary ODV-2D camera.
Having installed the Perceptor IoT desktop installer and having input the licence key, navigate to the SETTINGS tab on the menu bar. It will require the associated permission to access this menu.
Within the settings menu, there are a number of settings which can be set as default values to suit the customer’s requirements and the following is designed to assist End Users determine which is the best input for them.
System information
The first screen is for information only.

Printer settings
The Printer Settings screen is important because this is where the IP address for the ODV-2D camera is input so that a connection between Perceptor and the ODV-2D can be made.
It is essential that the ODV-2D IP address is set to static as otherwise Perceptor will lose connection to this ODV-2D if the IP address changes. To achieve this, it is required to reserve an IP address against the MAC address of the ODV-2D so each time it connects to the network it is assigned the same IP address.
ODV Address – enter the IP address of the ODV-2D here.
PTX_SETUP – leave as 9100.
PXML Port – leave as 3007.

Station settings
Station Name - in the Station Settings tab give the station a friendly name.
Logging Level - select logging as desired.
Save Debug Images Mode - setting debug images is not necessary unless the user wishes to send an image to Perceptor for support.
Save All Images Path - choose the location and path to save images. This can be a mapped network path.
Language - choose English as the language.
Source - ignore the Source.
API Address – enter the endpoint address if calling Perceptor from an external system via API.
Certificate Logon - should a certificate be needed to download to the device for machine to machine authentication, please log in to the licence server to download the certificate and then upload it here:

System settings
Batch Report Folder - in the System Settings tab enter a path to save the Batch Reconciliation report.
Save Text Images - in the fields which follow select the images to be saved to the database within each inspection. These are thumbnail images and do not take up lots of hard disk space.
Saved Image Format - select BMP or JPEG as the preferred file type. JPEGs take less space so are the recommended file type.
Default Product Reference Names - type in the reference names to use for the default duplicate check. These are only a default and can be changed within the label vision template.
Start of Batch Barcode – this field entry is only needed if a barcode is used to start a batch. Enter the value encoded in the printed barcode.
End of Batch Barcode - this field entry is only needed if a barcode is used to end a batch. Enter the value encoded in the printed barcode.

Serialisation settings
Only enter these values when connecting to a 3rd party serialisation system.

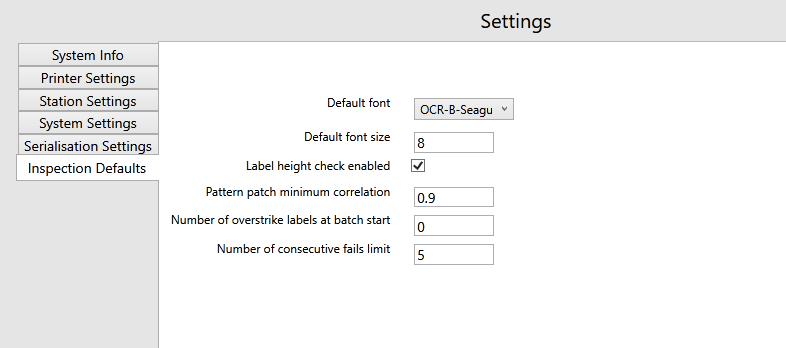
Inspection defaults
This section is for the defaults that are used when a new label vision template is created and can save time by avoiding the need to enter data on each and every field when designing a label vision template.
Default font – select from the drop down.
Default font size – enter the font size as a pt value.
Label height check enabled - if Perceptor is required to check the label height then tick this box.
Pattern match minimum correlation – this is a value of 0.0-1.0 where 1.0 is 100% correlation.
Number of overstrike labels at batch start – this allows a test label to be printed at the start of each batch to check print quality. Enter the number of labels to be printed. All labels will be immediately overstriked.
Number of consecutive fails limit – enter a value here to pause the print and forewarn the operator if X number of consecutive failures occur.